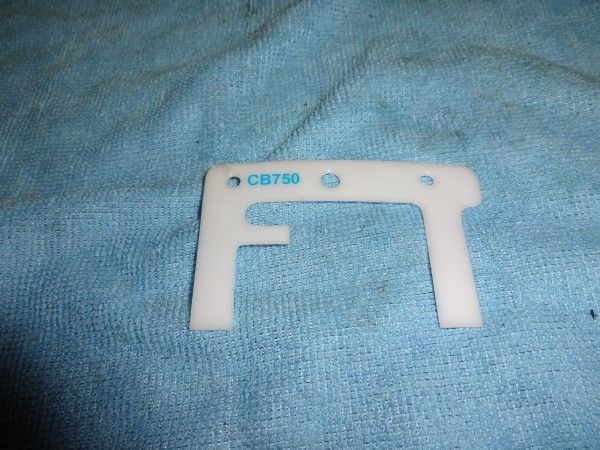
Carburetor Weekend. It don't look like much in the end but it takes time to rebuild, assemble, bench synch, and then mount them up. It would have helped immensely if my float gauge didn't decide to fall between the drawers of the tool chest and hide in the back between the drawers. I walked around for a good half an hour yelling at any drill press, parts washer, buffing machine, or anyone else that would listen, "I know I put that farking thing right in there in the tool box, where is it? You guys better stop screwing around with me".
A must have,
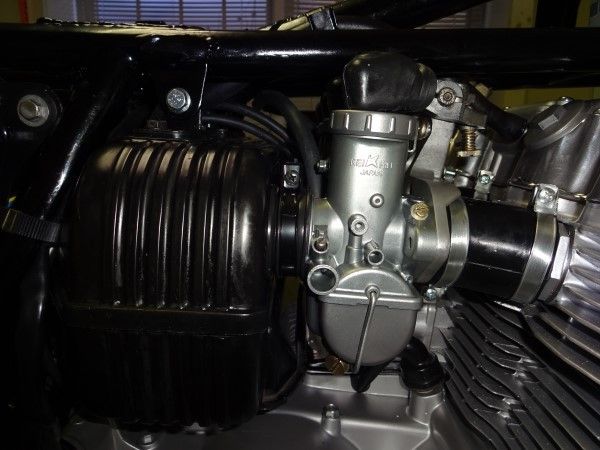
Carbs mounted,
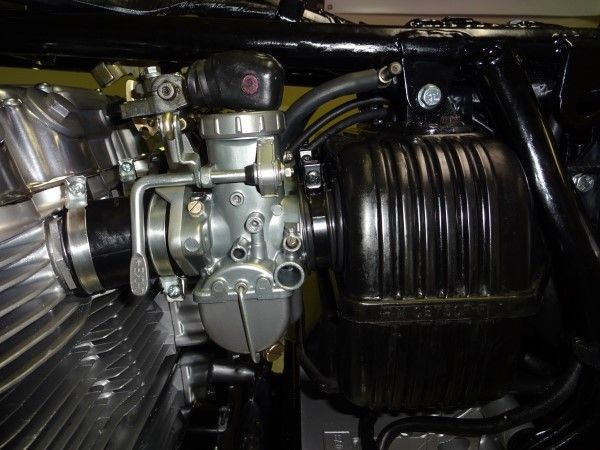
The air box came back remarkably well. It took awhile but it got cleaned really good with the parts washer, soap and water, and then a final Acetone cleaning. After that it was 3 coats of Mothers Black Magic and I have to say it restored quite well for plastic. The Vapor Blasted Carb Look is pretty good, I'm a fan.
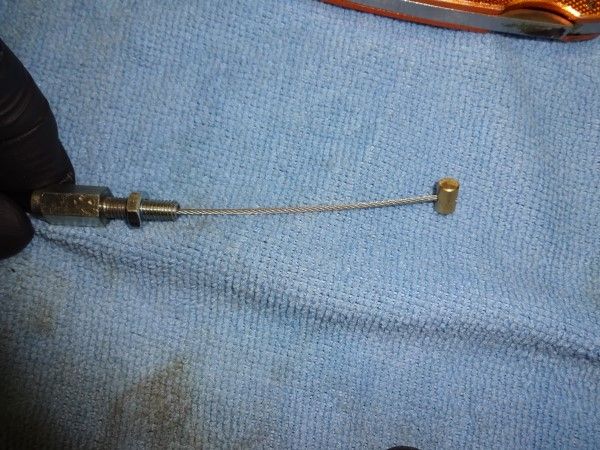
The carb cables were next. Once again the Motion Pro Cable End Kit got put to good use. I lay out the cables and then mark where they need to be cut. After that I measure the cable exit length fully extended and cut the cable. The cover is then cut back and the cable to the same fully extended measurement. The cable is then reinserted into the cover and an end slid onto the cable. The end of the cable is then frayed.
The cable end then gets slid up the cable. The frayed end gets just enough friction in the space at the end of the cable end to hold it in place.
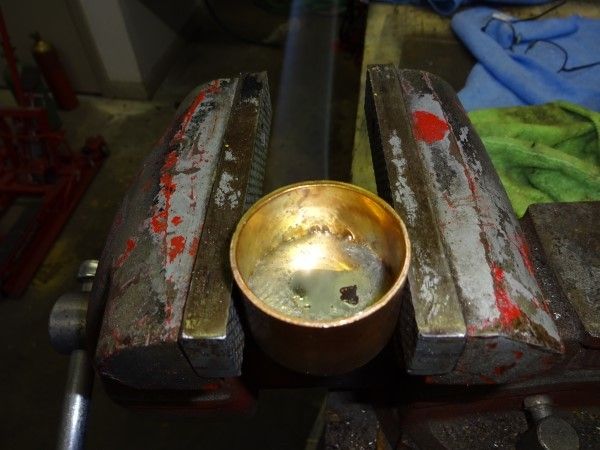
It then goes into the cable pot. Mine is nothing more than a 1-1/4" copper end cap with a small roll of 50/50 solder. Enough solder to do as many cable ends as I will probably do in my lifetime. A simple torch heats it to melting in about 1 minute and the end is dunked after first being fluxed.
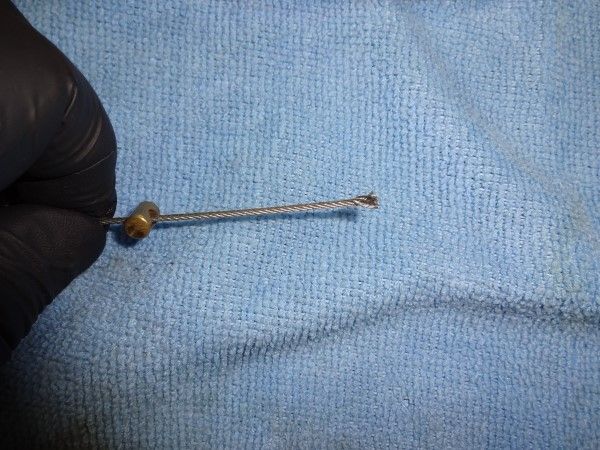
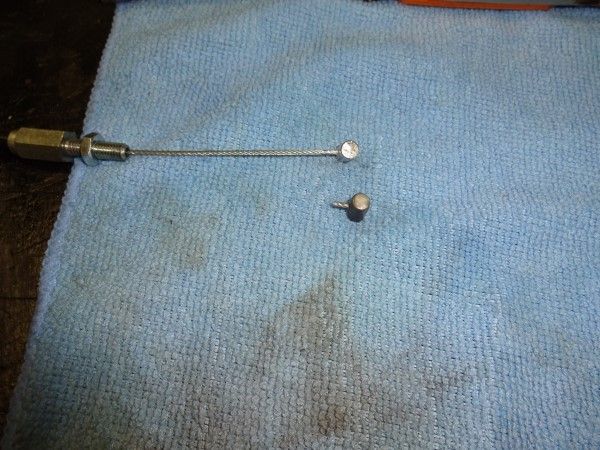
And you end up with this, the cut off end is next to the newly shortened cable for comparison.
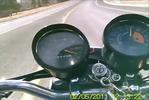
This time the headlight didn't get dropped on the floor and made it's way to the bucket. I always check the operation of everything after the headlight is installed as I have had them pull connectors apart because of the normally tight space. Everything is working as far as lights, horn, signals, ignition, etc.
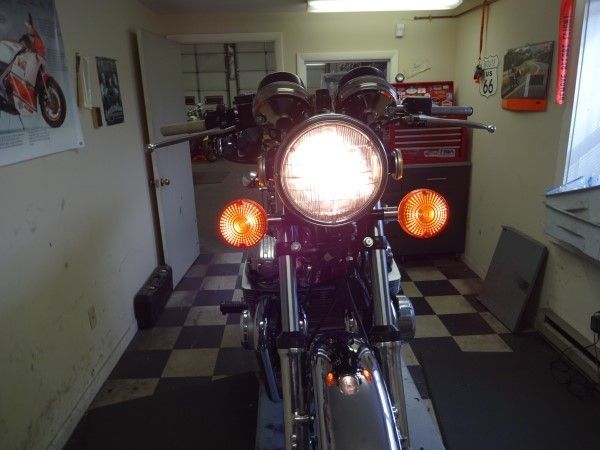
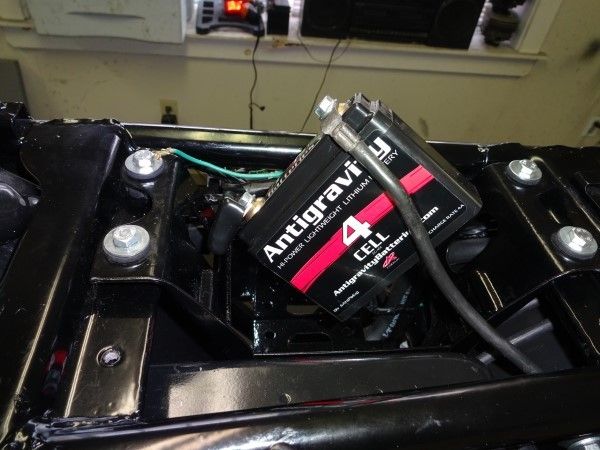
This bike is just about ready to test fire. I am waiting on the new Antigravity battery to get here, and that should be any day now. I have been doing my testing off this dirt bike battery which works OK for lights and stuff but it needs a properly sized battery to start, and I am hoping that will happen this week.