Kawi2strokes.com Forum

Enthusiasts from around the world dedicated to the preservation and ritual flogging of the infamous Kawasaki 2-stroke Triples
It is currently Sat Apr 27, 2024 1:02 pm

All times are UTC - 5 hours


Post new topic Reply to topic  [ 52 posts ]  Go to page Previous  1, 2, 3, 4, 5, 6  Next
Author Message
 Post subject: Re: 1976 Honda CB550
PostPosted: Sat Feb 09, 2019 9:42 am 
Moderator
User avatar

Joined: Thu Jun 09, 2011 6:16 am
Posts: 2146
Location: North Alabama
I've baked a few parts in the kitchen ..... no problem...the wife thought it interesting.
I've used the dishwasher as well,

:wtf:

_________________
Busy doing more riding than wrenching.......


Top
 Profile  
 
 Post subject: Re: 1976 Honda CB550
PostPosted: Sat Feb 09, 2019 7:01 pm 

Joined: Wed Jun 22, 2011 11:43 am
Posts: 311
Location: CT and Sometimes SC
Started engine assembly today. I use as much information as I can when putting stuff back together. I can't remember crap these day. Important stuff like how parts go back together, did I order a gasket set and seals? Do I have beer at home?

It sucks getting older, seems I can always remember what I had to pay my ex-wife for that great emancipation though. Maybe when I take stuff apart I should smack my hand with a hammer so it hurts like that and then remember where stuff went? But I digress. Anyway, I bag and tag everything and then lay the parts out on a clean rag in the order they should be assembled. I also used on this project both a Haynes Manual and A Honda Factory Manual. Neither is a great manual but that is what we got.

Oh, and not sure I mentioned this, these Hefty Zipper Type Storage Bags are the way to go. Ziplock Bags Suck, Period. These bags have a secure zipper on them. The squeeze together triple lock stuff is crap. After awhile in a box full of bagged parts they will pop open leaving small pins and other important stuff mixed in with other important stuff that you now have no clue what went where. Life is Short Buy The Good Bags.

Image

And the lower end is assembled. It is always nice after this process to feel the crank and tranny turn freely. Still, Gremlins can be everywhere so it pays to be vigilant and test as you go along.


Image


The Neutral Switch didn't pass inspection. The switch had a contact broken off and I Silver Brazed a spot of 15% Silver Braze to take it's place. It seems to be working well according to the meter but I may look for a replacement.


Image


The cylinders are baking now so maybe we can get an engine in the frame tomorrow. Thanks for following along.


Top
 Profile  
 
 Post subject: Re: 1976 Honda CB550
PostPosted: Sun Feb 10, 2019 4:41 pm 

Joined: Wed Jun 22, 2011 11:43 am
Posts: 311
Location: CT and Sometimes SC
Not a huge day, had some family stuff to attend to, but, got the cylinders on and the motor in the frame. Much easier than a CB750 that needs to be installed as a complete motor. The head is at the machine shop and we may see it next week. It will be nice to work on the rest of the motor while on the lift from a roll around stool, because, well, I just don't sit around on my ass enough these days.


Image

Image


Top
 Profile  
 
 Post subject: Re: 1976 Honda CB550
PostPosted: Sun Feb 17, 2019 5:53 pm 

Joined: Wed Jun 22, 2011 11:43 am
Posts: 311
Location: CT and Sometimes SC
The motor resto is pretty much complete. Even though I have done these cams a few times they are always like a puzzle you get at a Cracker Barrel. You know, the ones that are like 3 metal triangles you have to get a apart. At first it looks impossible but, if you work at it awhile it slips right apart.

That's it for a couple of weeks. Time to head South and get the f*ck out of this weather. That will leave me about 6 weeks to finish this bike, gonna be close. Thanks for Tagging Along.

Image


Image


Top
 Profile  
 
 Post subject: Re: 1976 Honda CB550
PostPosted: Tue Feb 19, 2019 7:55 am 
Moderator
User avatar

Joined: Thu Jun 09, 2011 6:16 am
Posts: 2146
Location: North Alabama
Looking very nice......

_________________
Busy doing more riding than wrenching.......


Top
 Profile  
 
 Post subject: Re: 1976 Honda CB550
PostPosted: Tue Feb 19, 2019 2:43 pm 

Joined: Sun Sep 01, 2013 10:52 pm
Posts: 1224
Location: South Dakota
You are doing a beautiful job on that Honda brother. :thumbup:

_________________
1969 H1, 1971 G3SSA, 1974 G5, 1973 H2A, 1975 S3A, 1975 H1F, 1973 Z1, 1988 HD FLTC, Captain America chopper, 2000 Excelsior Henderson, 1965 Bridgestone BS90


Top
 Profile  
 
 Post subject: Re: 1976 Honda CB550
PostPosted: Sat Mar 09, 2019 7:05 pm 

Joined: Wed Jun 22, 2011 11:43 am
Posts: 311
Location: CT and Sometimes SC
GUTS wrote:
You are doing a beautiful job on that Honda brother. :thumbup:


Thank You GUTS, I am a great admirer of your work.


Top
 Profile  
 
 Post subject: Re: 1976 Honda CB550
PostPosted: Sat Mar 09, 2019 7:11 pm 

Joined: Wed Jun 22, 2011 11:43 am
Posts: 311
Location: CT and Sometimes SC
Back at it again after a vacation to warmer waters. The vacation felt like it went by way too quick, but stepping back into the shop today it feels like I've been away from this project for way too long, the clock is ticking. Today was spent working on the carbs. I forgot how much fun these linkage carbs are. The carbs were disassembled and bagged,each carb body and bowl have been engraved as to their respective carb number for reassembly. The bodies will now be sent to Resto Cycle to be Vapor Blasted. I like the look of the vapor blasted carbs, they look very close to OEM. Prep work will continue on the carb linkage assembly and other carb parts so that when the bodies come back the rack will be ready for assembly.

Carbs ready to ship out Monday,


Image

Bagged and tagged,

Image

I also did some work on the rear wheel. Something has been bothering me about this wheel every time I walked by it. Finally I just said F it. The OEM Dish Washers for the sprocket bolts are NLA so I tried painting the cover plate and just using Locktite but it never looked right to me. The washers came up on Ebay from a guy in Germany and I bought them. I then blasted the paint of the plate and re-plated it in Zinc and installed the new OEM Honda Washers with new nuts. I can now sleep at night.

Image


Top
 Profile  
 
 Post subject: Re: 1976 Honda CB550
PostPosted: Sun Mar 10, 2019 2:17 pm 

Joined: Wed Jun 22, 2011 11:43 am
Posts: 311
Location: CT and Sometimes SC
Prepped the carb plate assembly today. Plated parts and then put a Yellow Chromate finish on the parts that looked that way before. The Yellow parts need to sit a day before working on them as the finish has not set in yet. I don't know why but assume it may be the acid on your hands. All I know is that if you let them sit a day you can handle them without marring the Yellow finish.

The assembly before, you need to drill out the pin on the upper right to disassemble this part.


Image


Parts ready for assembly,

Image


Top
 Profile  
 
 Post subject: Re: 1976 Honda CB550
PostPosted: Sat Mar 16, 2019 6:19 pm 

Joined: Wed Jun 22, 2011 11:43 am
Posts: 311
Location: CT and Sometimes SC
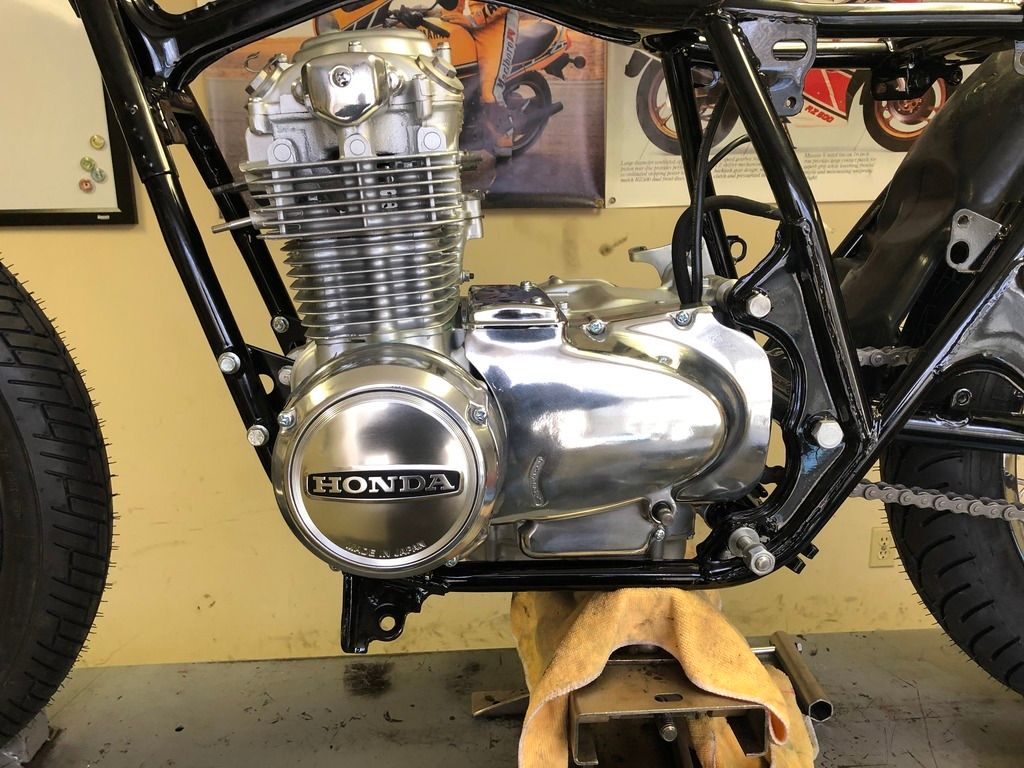
Started on left side renovations today and the starter was the place to start. The starter wire had been shorting out so my thinking is this bike was being kick started in it's last days.

Image

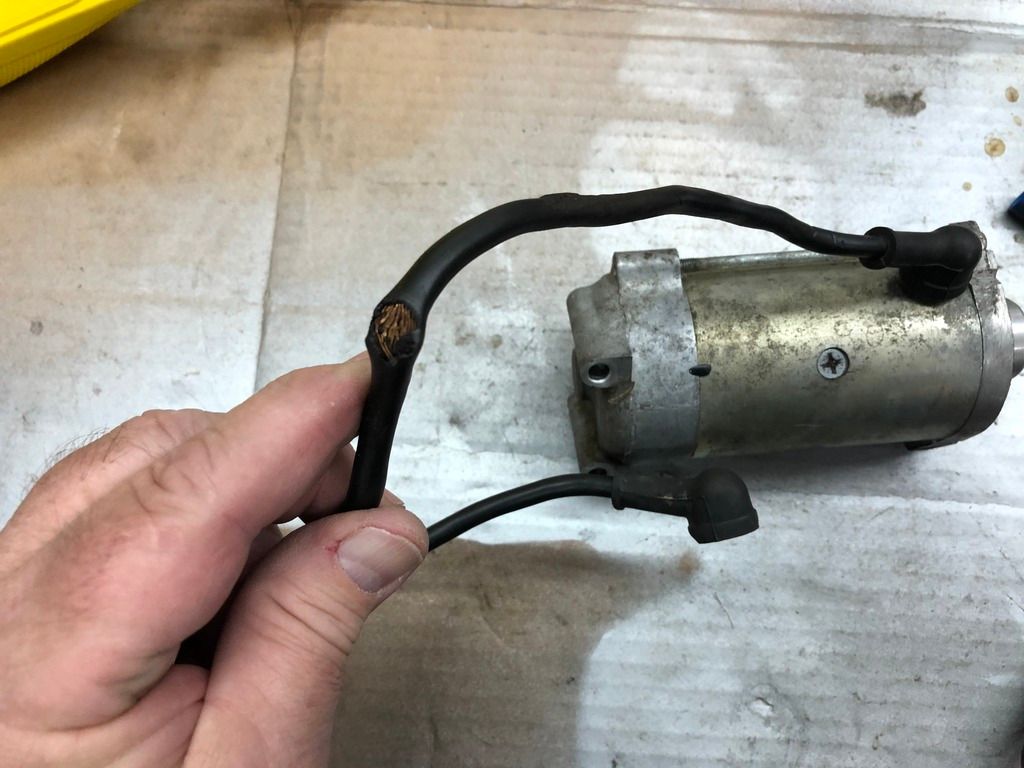
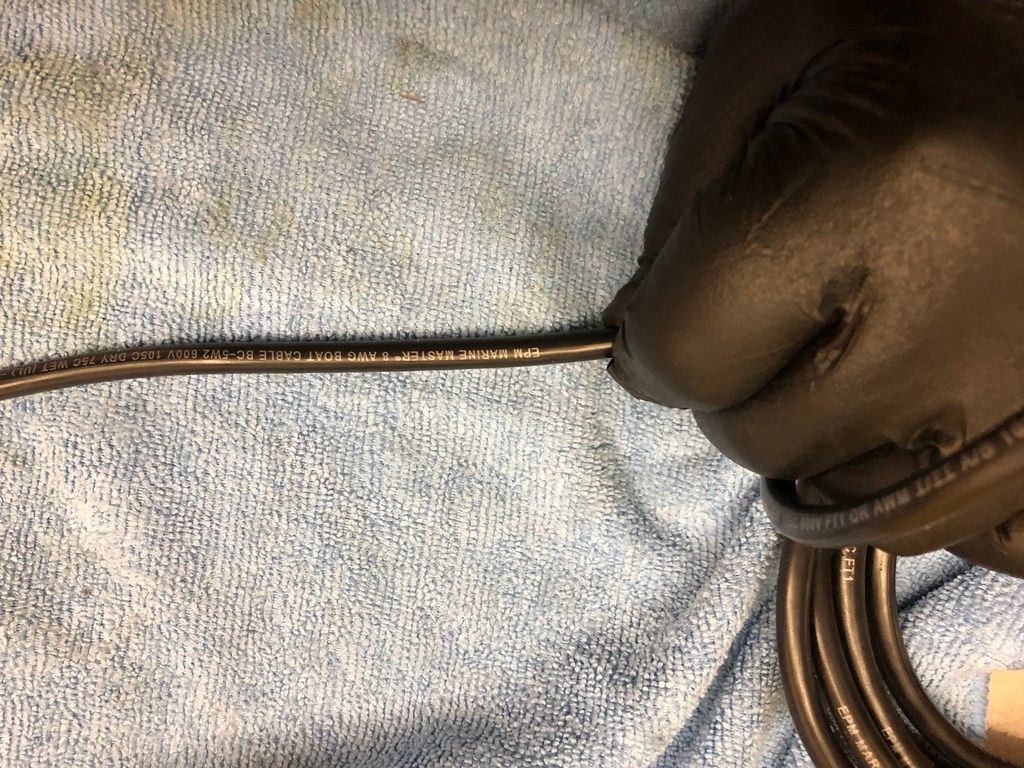
I just assumed there was a fitting under the starter grommet, apparently not. It is part of the starter so it was but connected and heat shrunk to new Marine Grade Wire.

Image

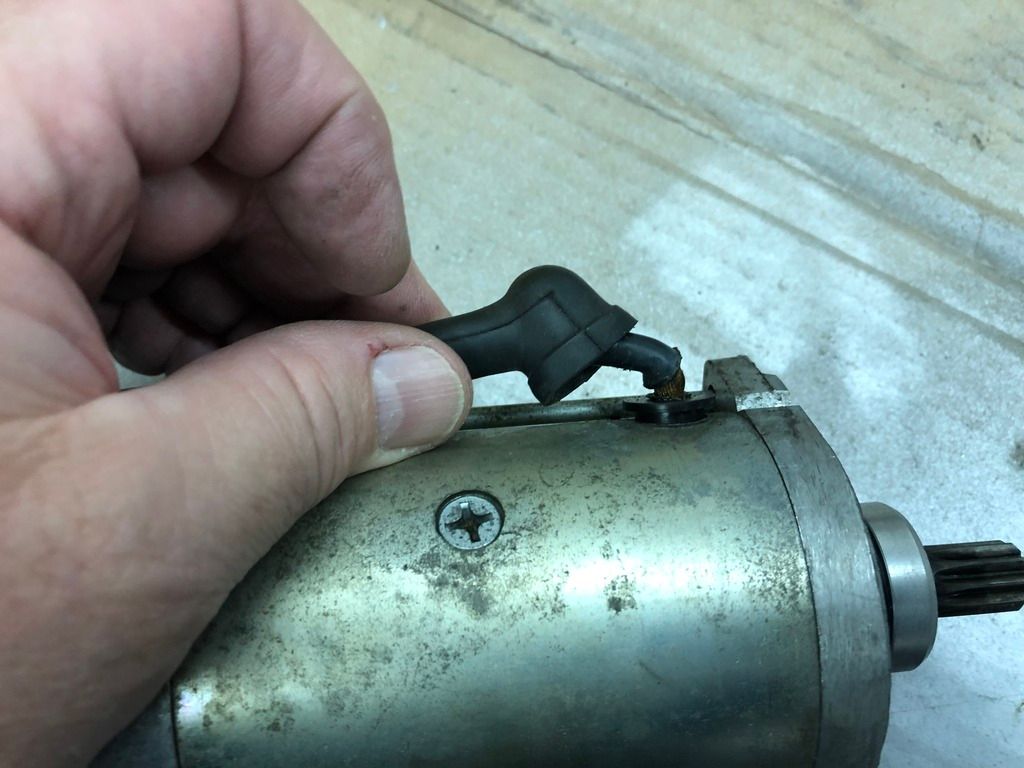
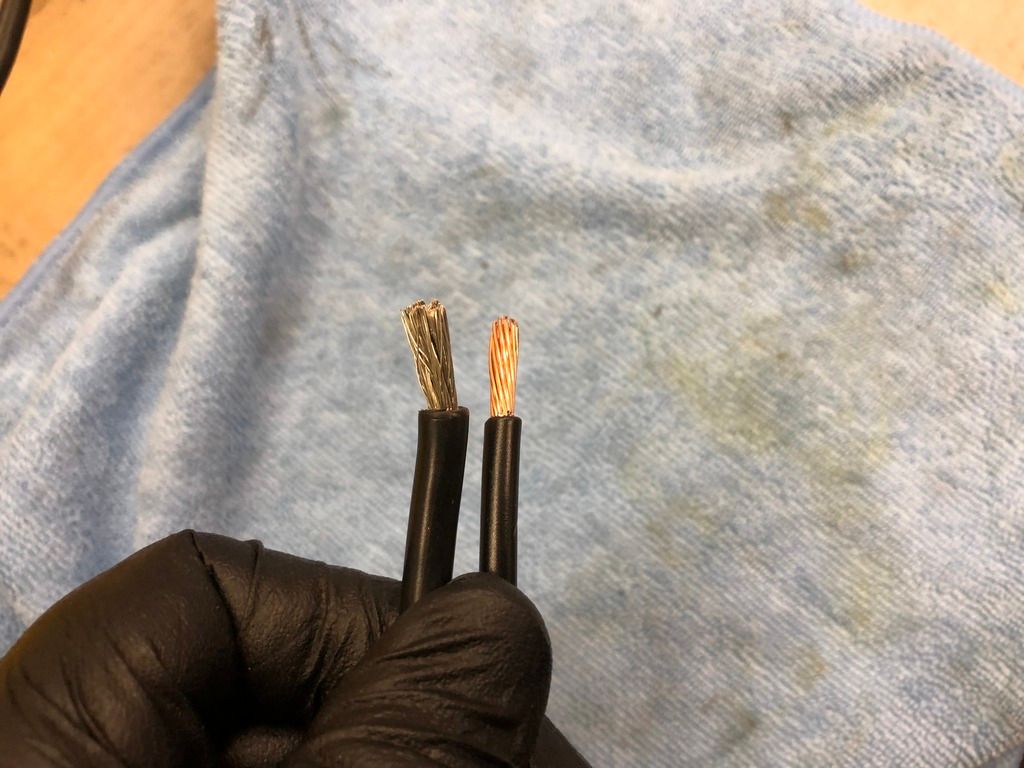
This is the cable I like. It is Marine Grade meaning it is Tinned to prevent corrosion and much more pliable that regular wire. You can get it on Ebay per foot for about a buck a foot for 6 and 8 Gauge Wire. You can see the difference between the two in the following photo.

Image


Image


Then it was time to put on a chain. According to experienced riders of these bikes, they don't accept O Ring Chains well. I don't see the wear areas and close dimensions they talk about but I trust their knowledge and will not take any chances with an O Ring, a standard RK - Takasago Chain has been fitted. There was some discussion on a site about direction of the Master Link. Here is a pic of the instructions of the manufacturer showing the closed end moving forward. This is the way I was taught as a dirt bike rider.


Image

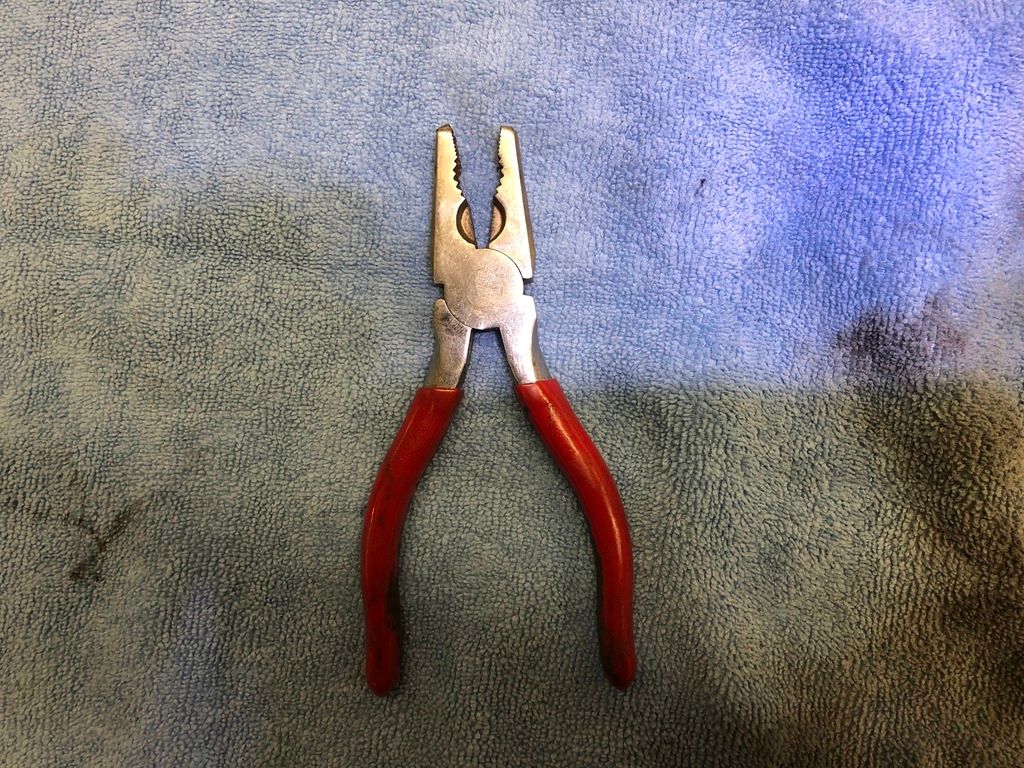
Clips VS rivets? I am of the rivet camp. However, this chain being a non O Ring Chain and came with a clip link, I used it. If you are a clip person, this inexpensive Master Link Pliers will make your job much easier.

Image


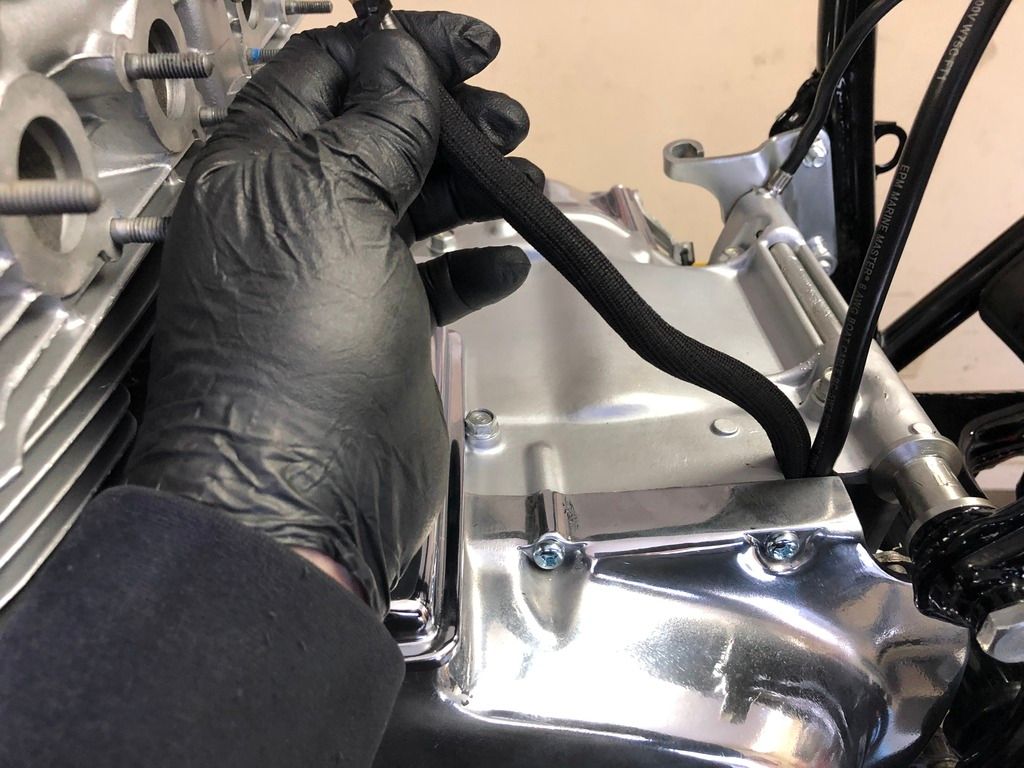
Also been using some of this inexpensive coiled wire wrap. If you want to protect a wring bundle or just make it look new without cutting into it this stuff works great.


Image

So there is the left side complete. The carbs were waiting for me when I got home today. Back from Restocycle in record turn-a-round time. Of all the vendors I send stuff out to Nils and Restocycle are by far the quickest Turn-a-round. Tomorrow the carbs go back together.


Image


Top
 Profile  
 
Display posts from previous:  Sort by  
Post new topic Reply to topic  [ 52 posts ]  Go to page Previous  1, 2, 3, 4, 5, 6  Next

All times are UTC - 5 hours


Who is online

Users browsing this forum: No registered users


You cannot post new topics in this forum
You cannot reply to topics in this forum
You cannot edit your posts in this forum
You cannot delete your posts in this forum
You cannot post attachments in this forum

Jump to:  
Powered by phpBB® Forum Software © phpBB Group