I really wanted one of those metal Blast cabinets on 4 legs, but then I thought about how much space it would take...and where would I store it, etc.etc.
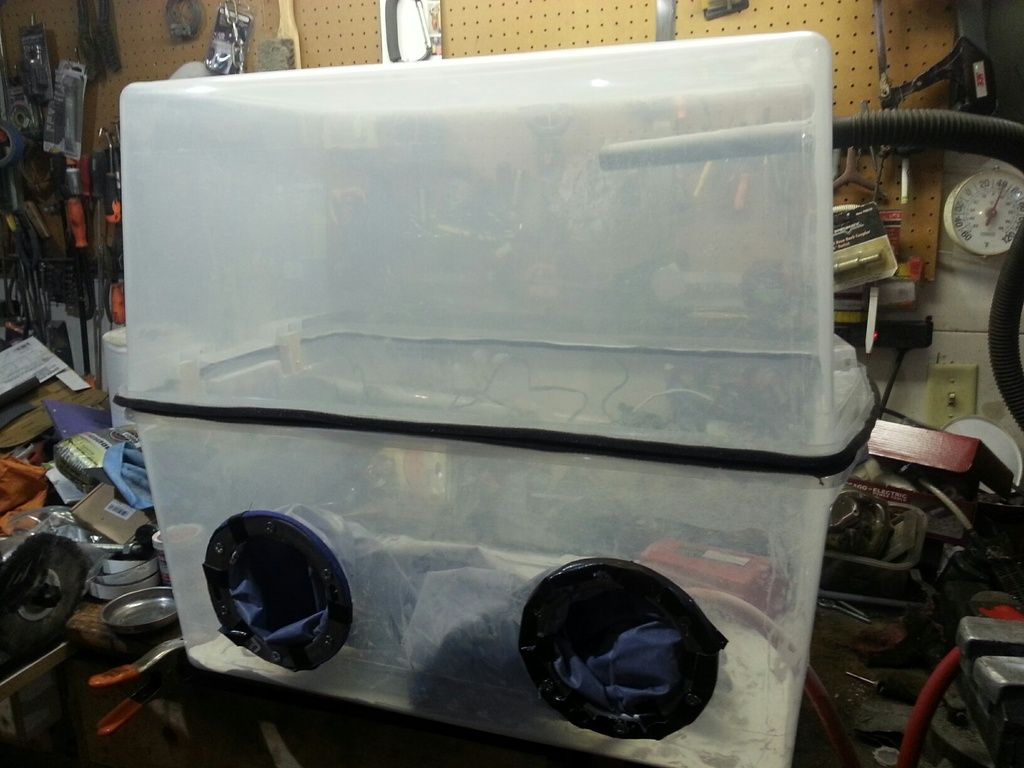
I wanted to also keep my investment down as I don't have any plans to blast more stuff in the near future (that would be IF you don't count my '53 Chevy pick-up pending Re-sto) So after mulling it over in my head, here's what I did. I bought a $20 H.F. handheld gun with a 20 oz. hopper mounted to it. After researching here and elsewhere, I didn't want too aggressive a setup, so I decided to try Soda Blasting. I went to my local Wally-World and bought 2 of the biggest, clear storage tubs with locking latches on the ends. (My thought process was IF I want to re-purpose them as storage tubes, I can...with a little duct tape to cover the holes!) I set the covers off the to side and put some 3/4 in. wide, adhesive backed soft foam weather stripping around the top and the bottom tub perimeters. I purchased two 6 in. SS toilet repair rings (for repairing broken toilet mounts) for about $6 and some long cuffed rubber gloves at H.F. I traced the openings on the side of the bottom tub and cut them with my Dremel and a Drywall cutting drill bit, rolled the ends of the glove cuffs back on the outside and drilled and bolted the glove cuffs in place. I cut two more holes, one low for my air hose and one high for my vacuum hose. I found some 4 lb. boxes of bulk Baking Soda at Wally-World for $1.99 ea.
Then I hooked up my little 20g. compressor, filled up my Hopper with Soda and started blasting. Initially it blasts like crazy, enough so that I cut another hole in the other end and added another shop vac hose. What I learned by trial and error is that if I take my time and try to use short, productive bursts that I can pretty much empty the hopper and get, say...one whole head or cylinder blasted. Then I have to stop and reload the hopper anyway. I use two wood clamp style spring clamps on each end to keep the seals tight and I've had virtually Zero leakage. The see thru sides allow plenty of light in and all I have to do if they get covered with soda dust is to shut off the flow valve and use the air flowing from the gun to blast the sides off. I initially tried re-using the soda as used, but there was just enough chunks to clog the gun. So I started sifting it thru some screen and that solved the gun-clogging problems.
It's not a perfect solution, but IF you get your work cleaned up well in preparation, the soda blasting does a pretty nice job of taking the aluminum cases, cylinders and heads back to a kind of raw casting patina. Not as shiny as Vapor blasting, but far less expensive to execute on a DIY basis. Check out the photos below:
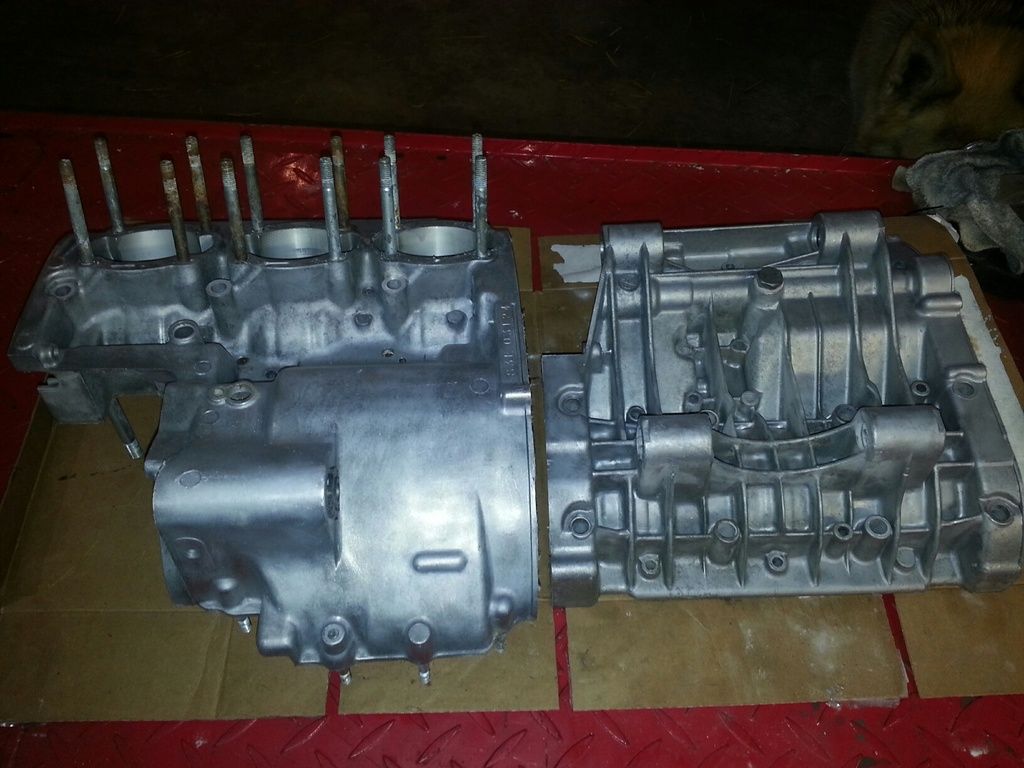
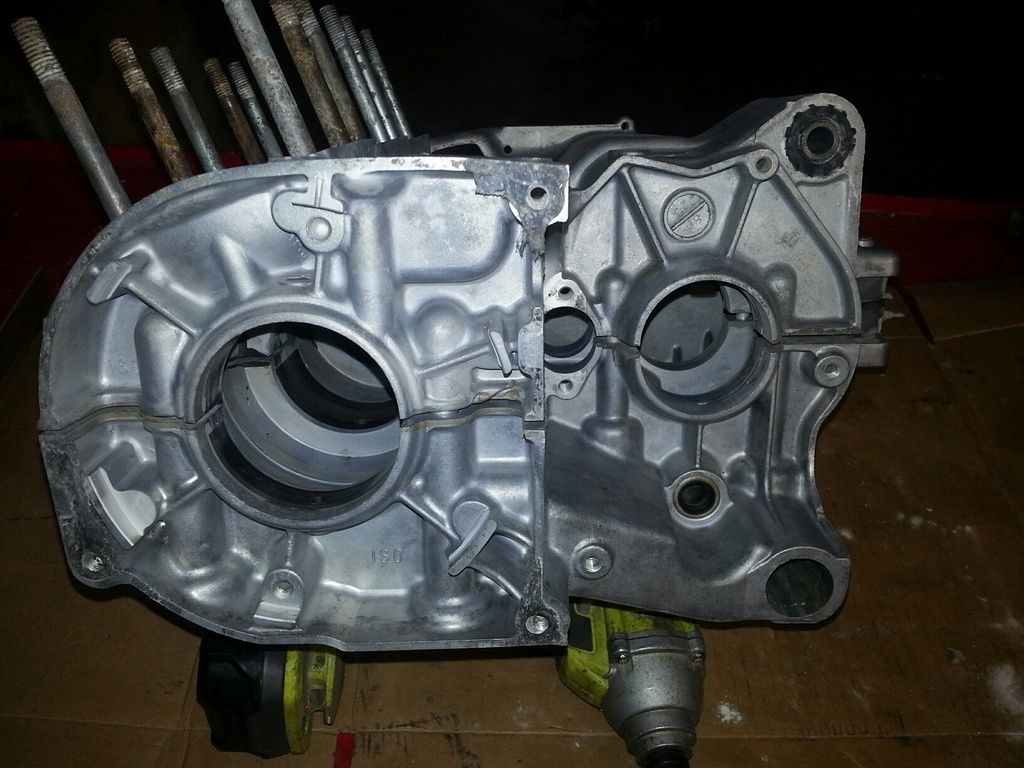
Here's a shot of the drive side, which is usually really hard to clean up. It looks almost as good as the internal case next to it.
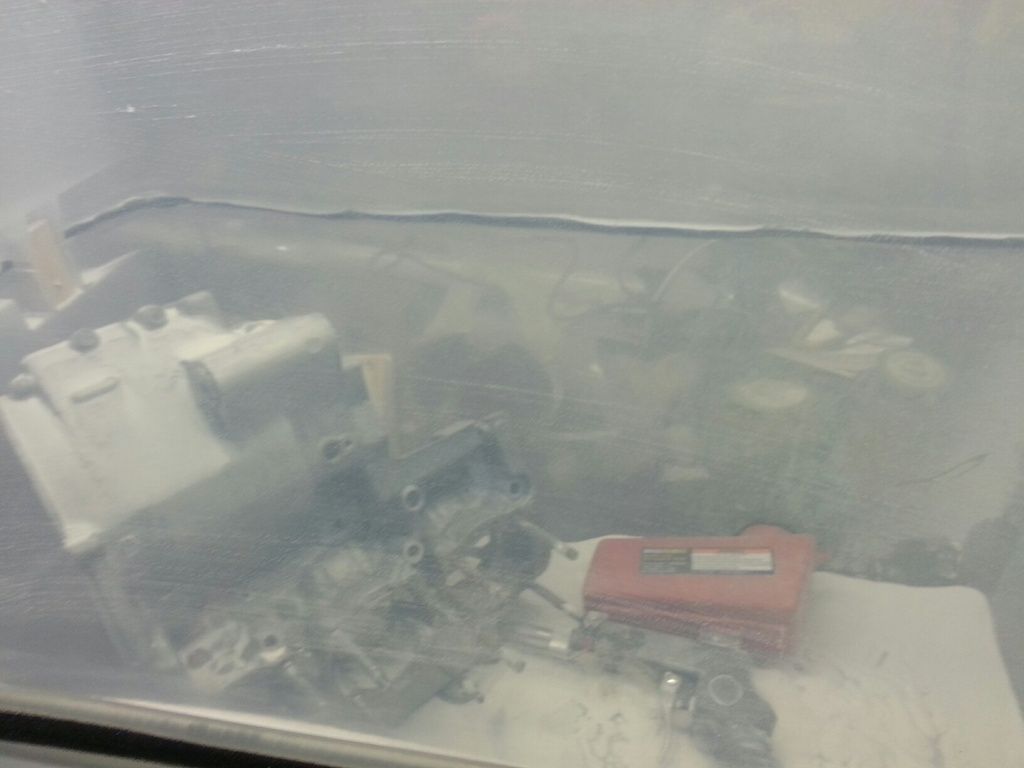
Here's a look thru the side of the storage tote. Not crystal clear, but good enough to see what I'm doing.
Here's the overall shot...
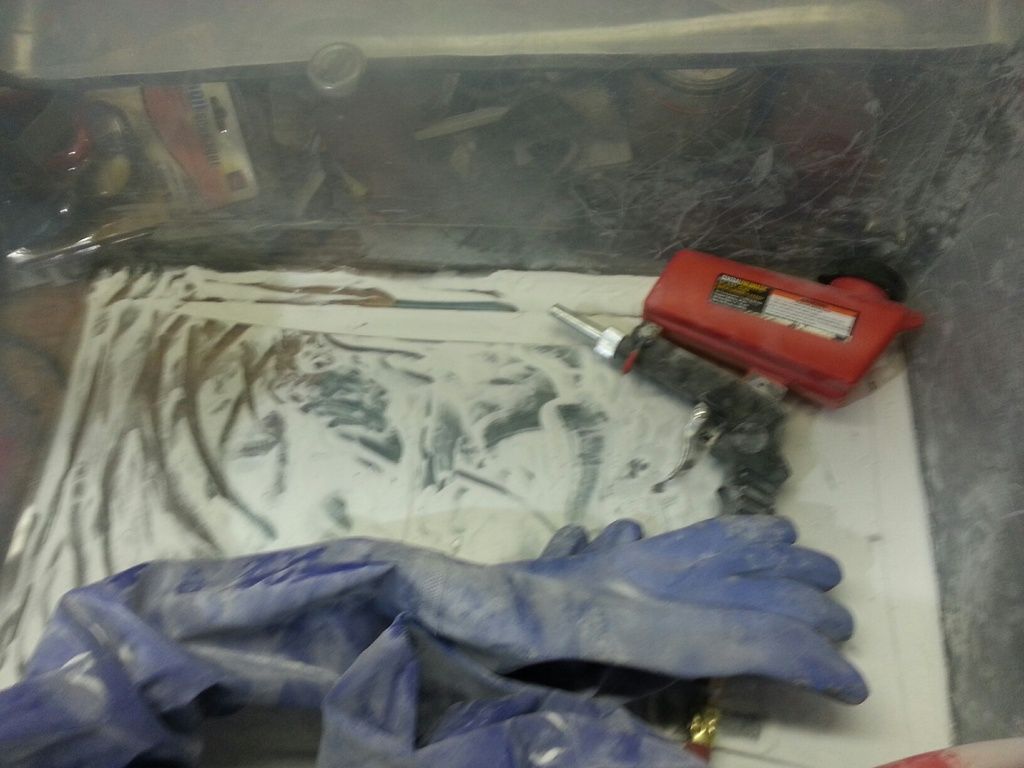
Here's what it looks like inside:
My next thought is to mount my hopper on the gun of my pressure washer. Based on my research, Glass Bead Vapor blasting has a sophisticated (at least to ME!) system to keep the glass beads suspended so they may be shot with a blasting gun. The water helps dull the glass bead impact and creates a nice middle of the road finish that's not too shiny....and not too dull, without abrading or removing too much material or creating too much heat (that could cause warping on larger metal surfaces like a car hood). So, I'm going to tie the two guns side by side with the glass beads shooting into the water stream and see how that works...when it warms up so I can do it outside.
I hope some of these ideas will help someone else on a budget do a decent job of DIY'ing their own blasting.
4 dog