Here's some info that I posted years ago while working on my S2 project (any pictures are probably lost when my pc failed a while back):
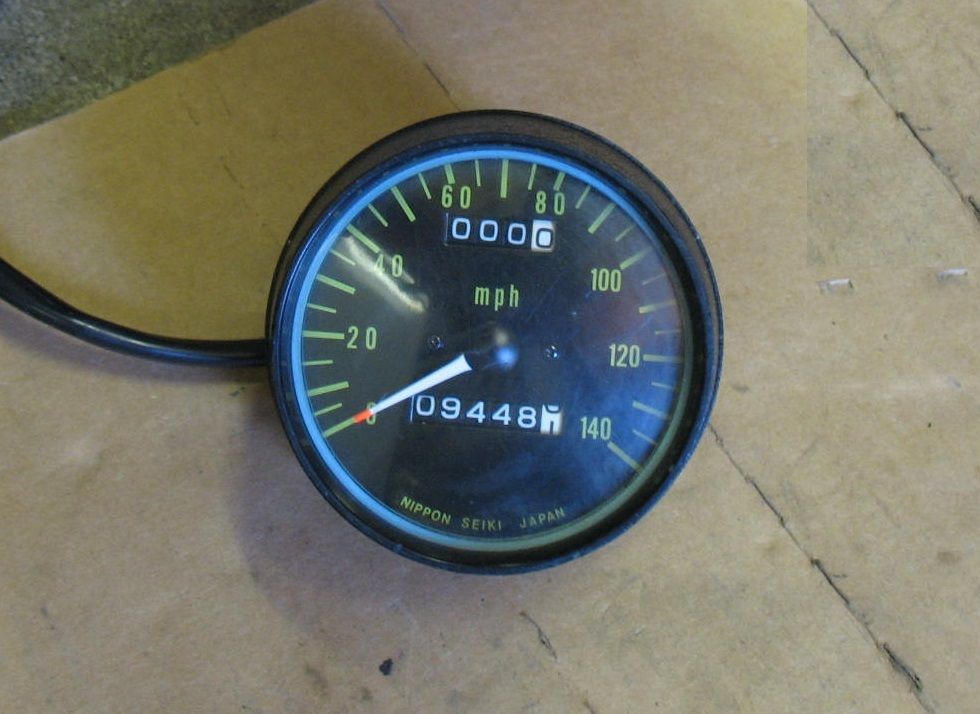
When the time comes to title and register the S2, I don't really want to have 9,448 miles stated on the title, so after getting some helpful pointers from someone who had previously sold on eBay a restored S2 speedo, and after practicing opening up a worn, faded parts speedo, I went to work on my project speedo.
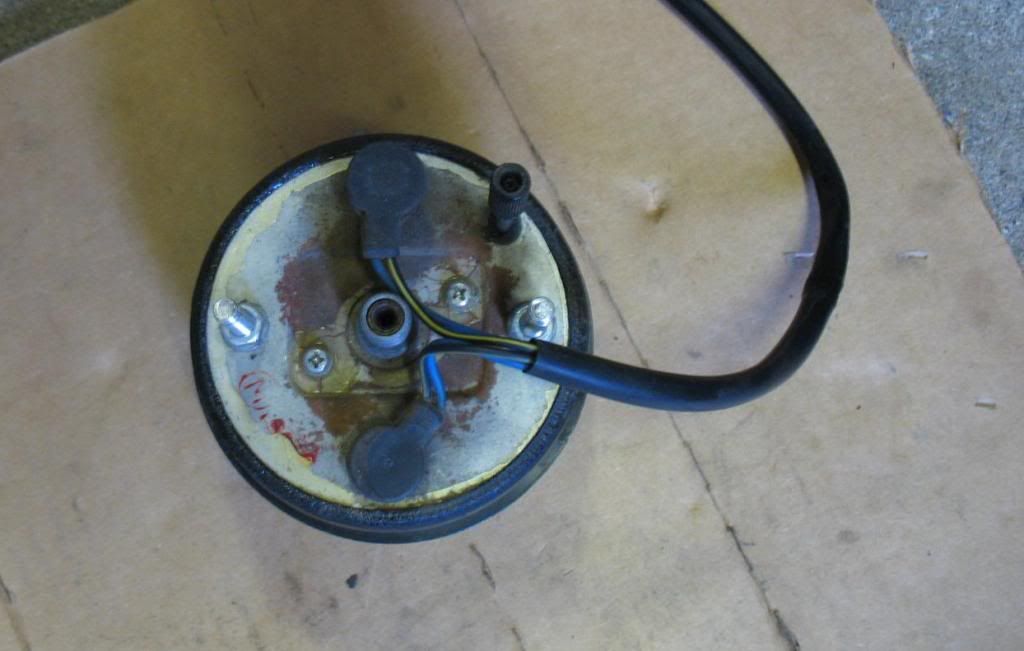
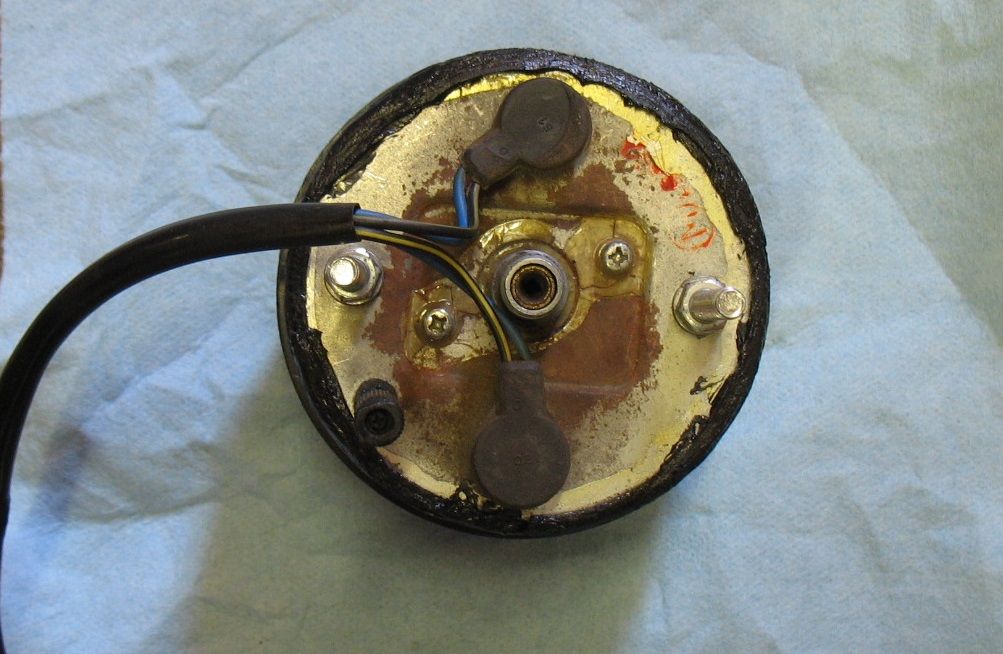
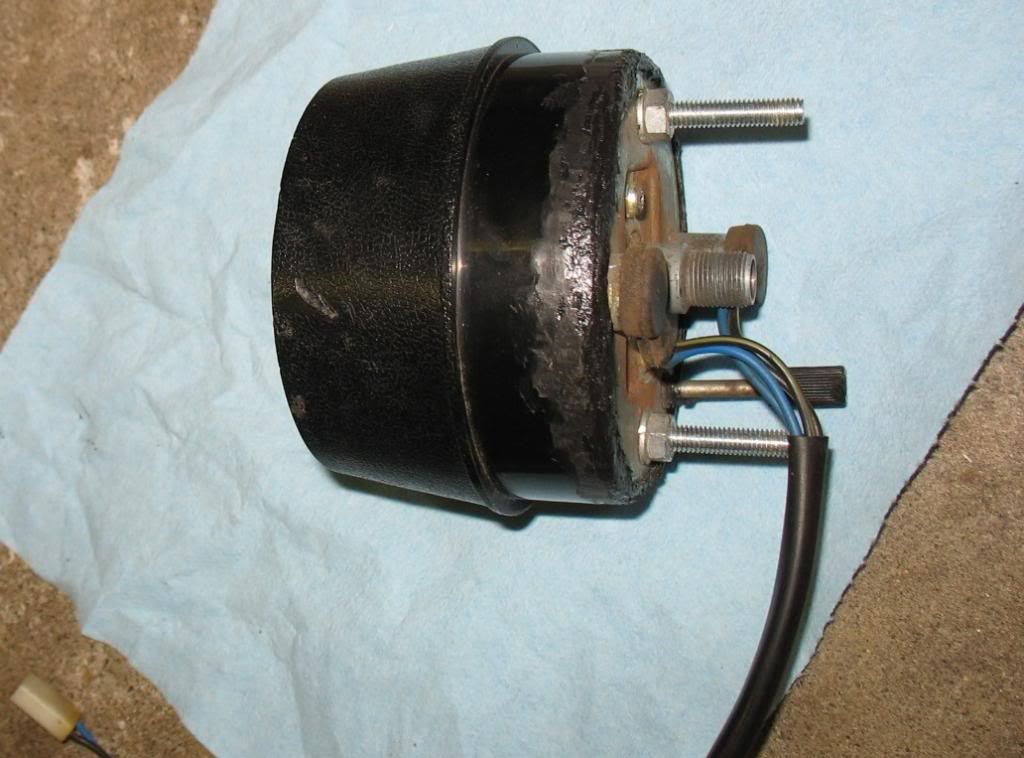
All that really holds the metal case and internals to the black plastic outer housing is the plastic that is curved over the rear of the metal casing (plus some dried up yellowish glue).
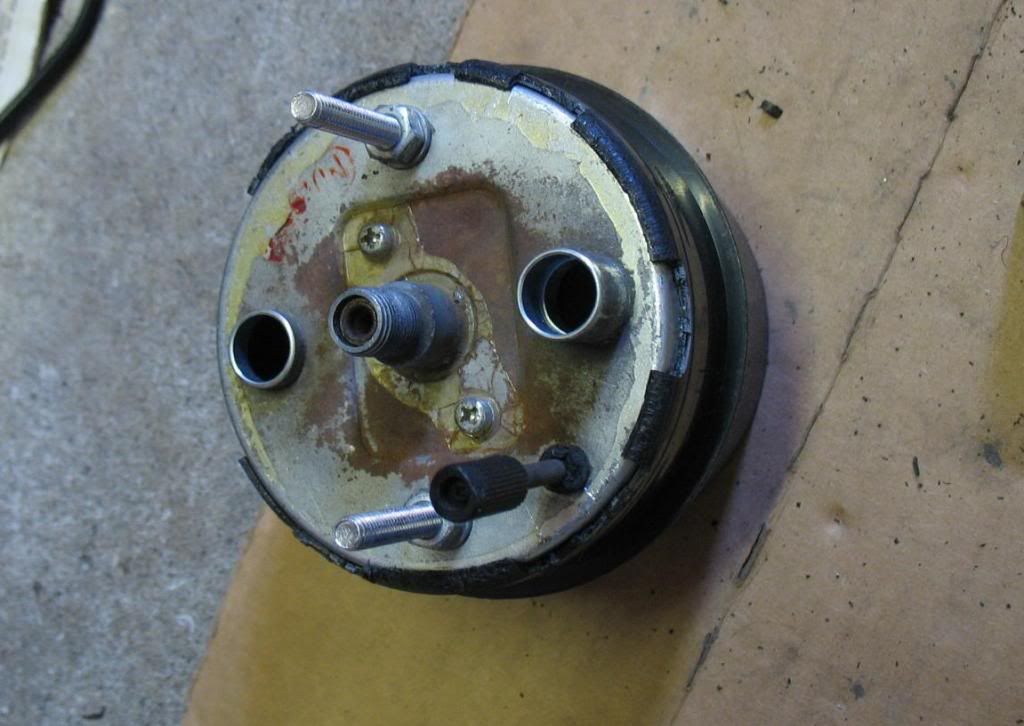
I was instructed to make cuts in the perimeter where it curves, and remove little pie shaped triangles, leaving enough material to later melt back down around the casing to secure when done. I removed squared-off sections instead of pie-cuts, but the concept is the same. You want to remove enough to free up the metal casing, in order to pry and wiggle out the metal casing assembly (as a whole). If you leave too much plastic around the perimeter, you end up having to force the casing out and will bend up the aluminum speedo face due to the greater angle needed to pry/wiggle out the assembly. (Try to remove material neater than shown here...

).
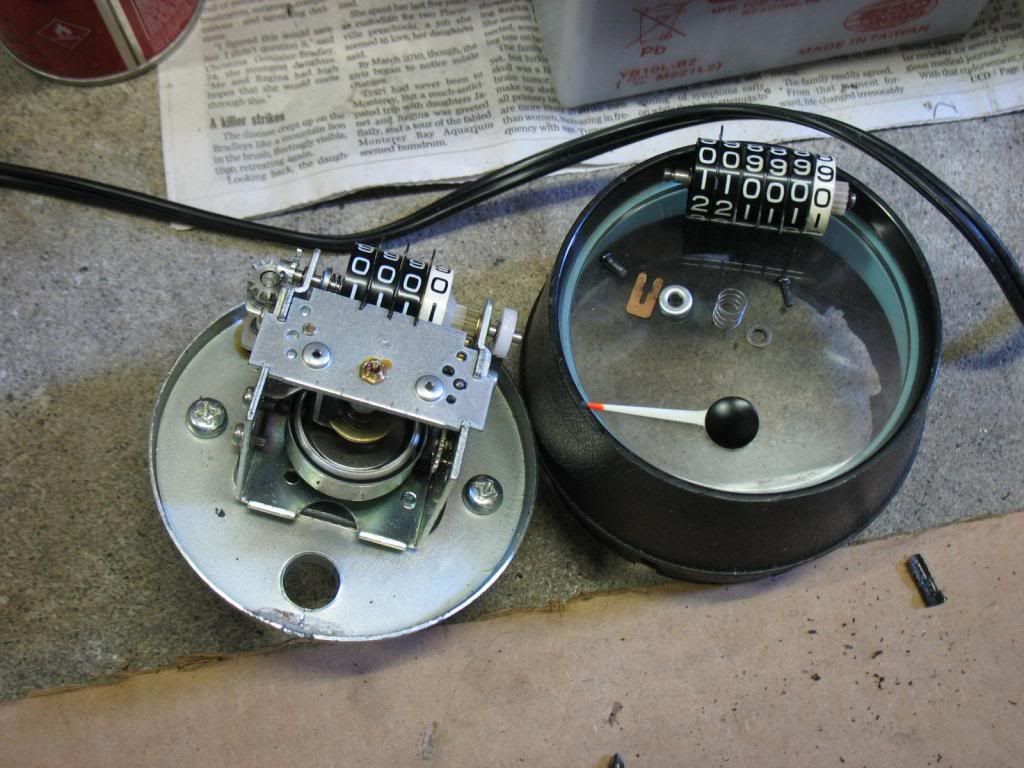
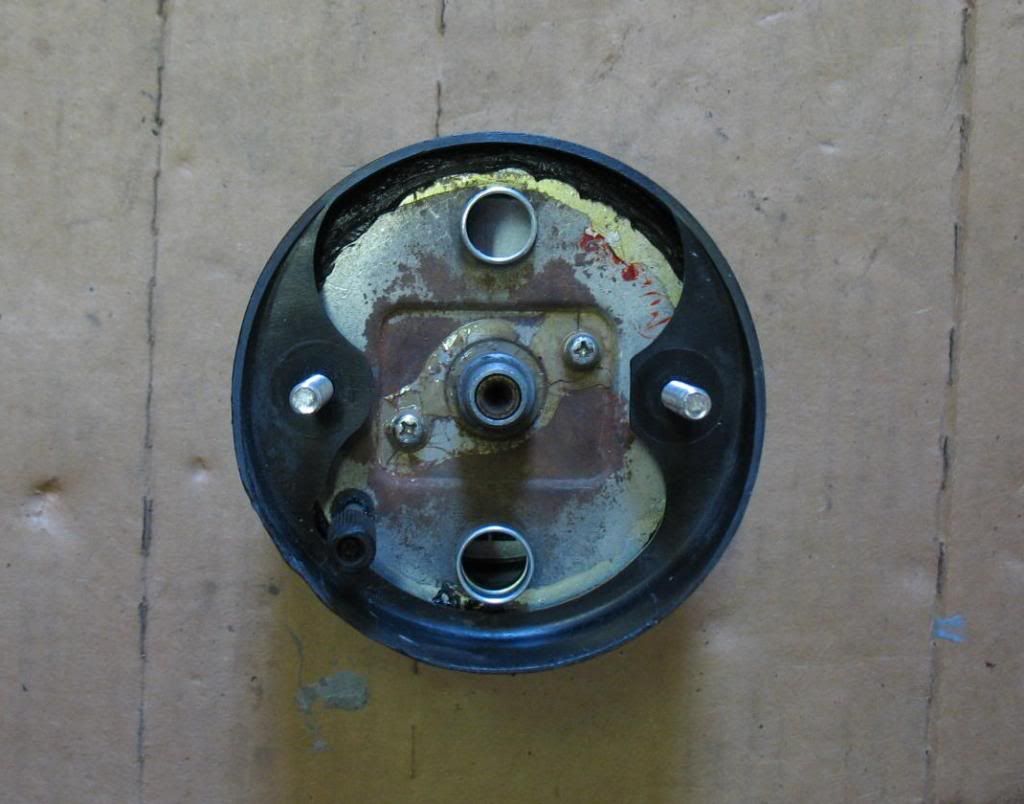
As I stated, you end up with two parts, the plastic lens/housing, and the complete speedo assembly. If you're speedo is in good shape, not all corroded or gummed up, all you have to do to remove the mileage wheel set is pull out the pair of copper clips on the spring end, push in the silver end "cap" to compress that spring, and the entire wheel assembly will pull out. Be extra careful not to lose the spring, end cap or slightly darker metal pin "guide" that fits into one end of the frame of the assembly. You can see the individual parts laying atop the speedo lens.
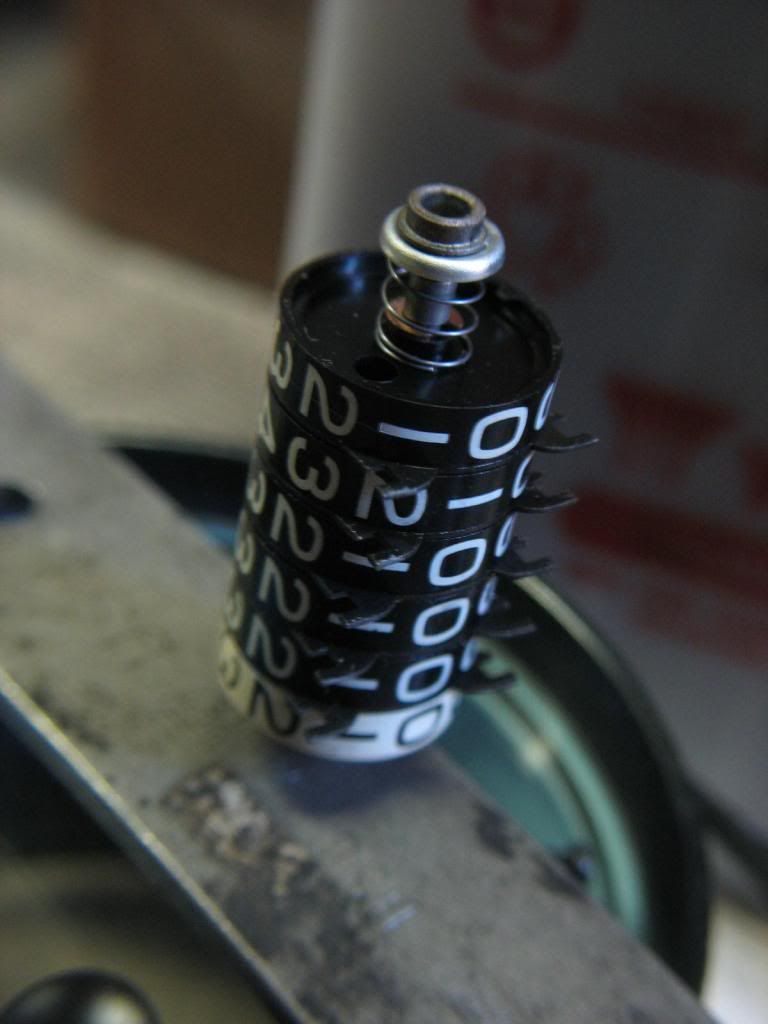
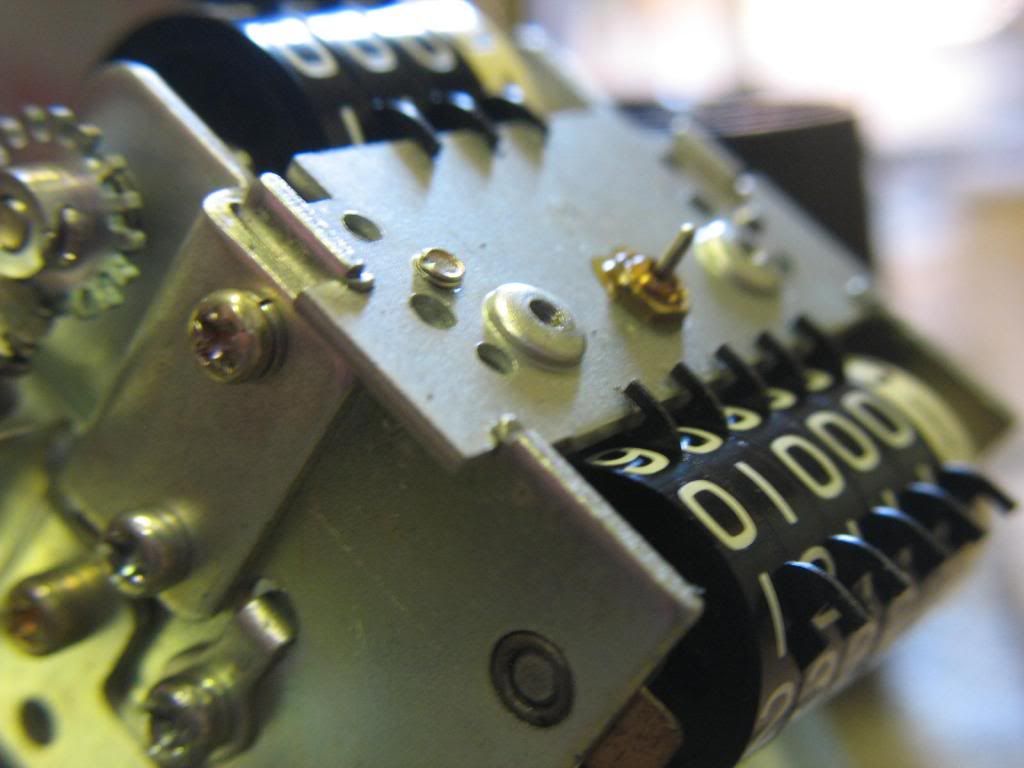
Anyway, once the wheel set is out, you can adjust one wheel at a time. I believe I ended up adjusting the wheel on the 10th's end first, and after that, while holding the black "clip" on that end, I worked my way leftwards, doing the same to each wheel one at a time. Again, you want to hold still the clips of the wheels you have just adjusted, while moving on to adjust the next wheel, otherwise you will change the first ones again. You'll see what I mean when you are doing it. Don't worry, you can just start over if you mess up the mileage you're shooting for.
Mileage set, assembly reinstalled in housing. Be sure the notch in each clip locks into the metal housing.
I used my plastic welder and added plastic to the gaps, and feathering into the surrounding plastic.
You'll need to sand the circumference enough to enable you to slide the black plastic rear cover when reassembling.
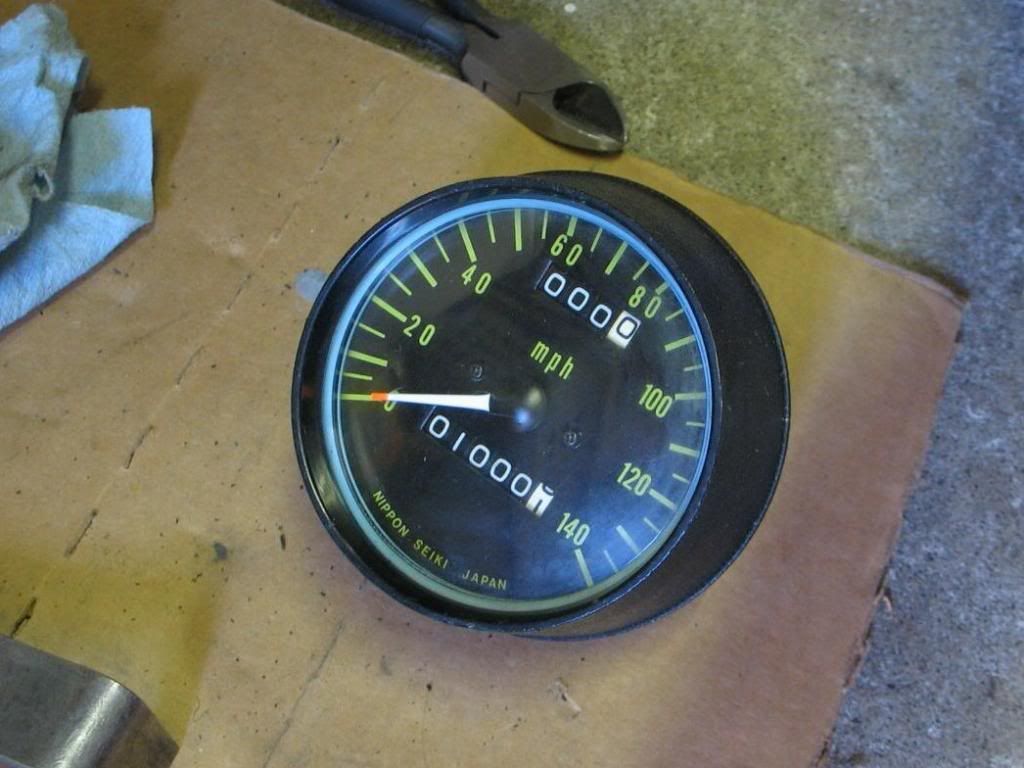
Although my plastic welding could have been neater, you won't see a whole lot when altogether especially when mounted on the bike.
Looks much better at 1000 than 9448. I personally chose 1000 instead of all 0's just in case the verifier at DMV was to make an issue over a 1972 motorcycle having no miles. Plus any miles I add later will be easy to keep track of by simply subtracting 1k.

Be sure to use Loctite on the 2 dial face screws or they may vibrate loose.
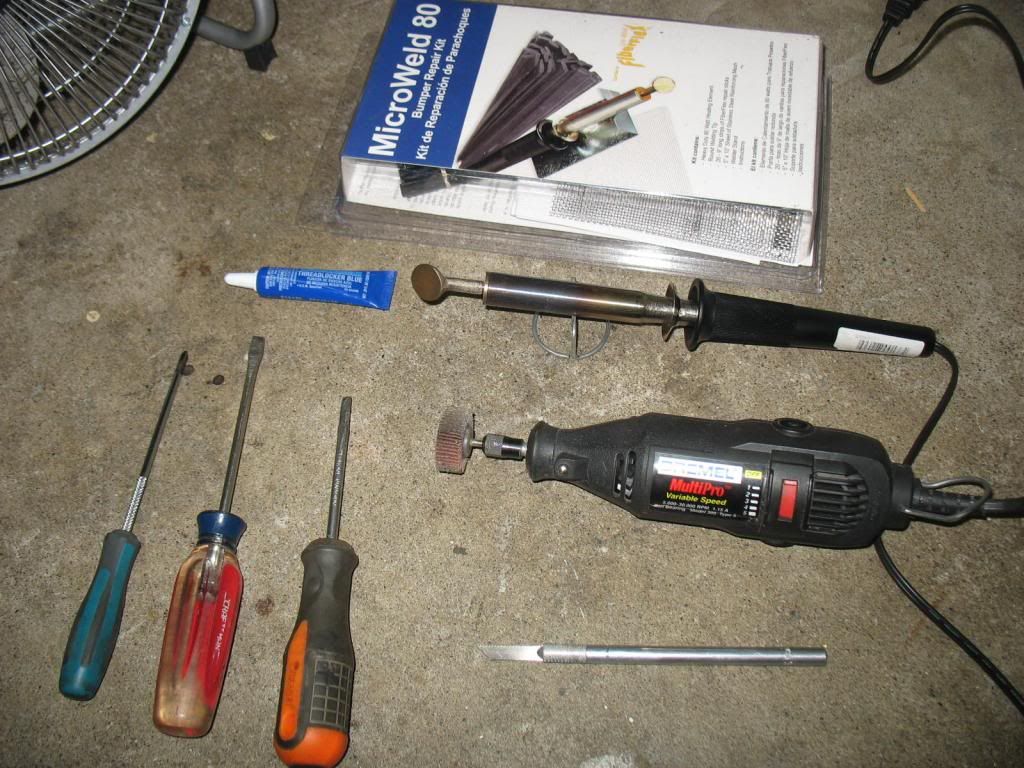
Tools that were helpful for the job.